We have recently published an old-new reference on the Information System for CENTRUM-VZDĚLÁVÁNÍ.CZ and in this information system, resp. web application, we used the NodeJS framework as a backend part – specifically NestJS.
NestJS
Let’s first say what NestJS is. It is a progressive Node.js framework for creating efficient, reliable and scalable server-side applications. In other words, it is a framework for creating back-end applications. The basic characteristics of NestJS include that TypeScript is used and the code structure is very similar to Angular. It is clear from these indications that NestJS is an ideal backend framework for developers who already have experience with Angular, as they can use their knowledge of frontend development in TypeScript.
Another important aspect is the excellent documentation and a lively community. For example, if we wanted to compare with the PHP framework Apigility, which we used before, it can not even be compared – really “0 and 100”. NestJS is well documented athttps://docs.nestjs.com/, where in addition to “theory” there are also best practices. And the community is active on the Discord platform. It is interesting that the NestJS framework comes from our “neighbors” in Poland and is backed by Trilon.
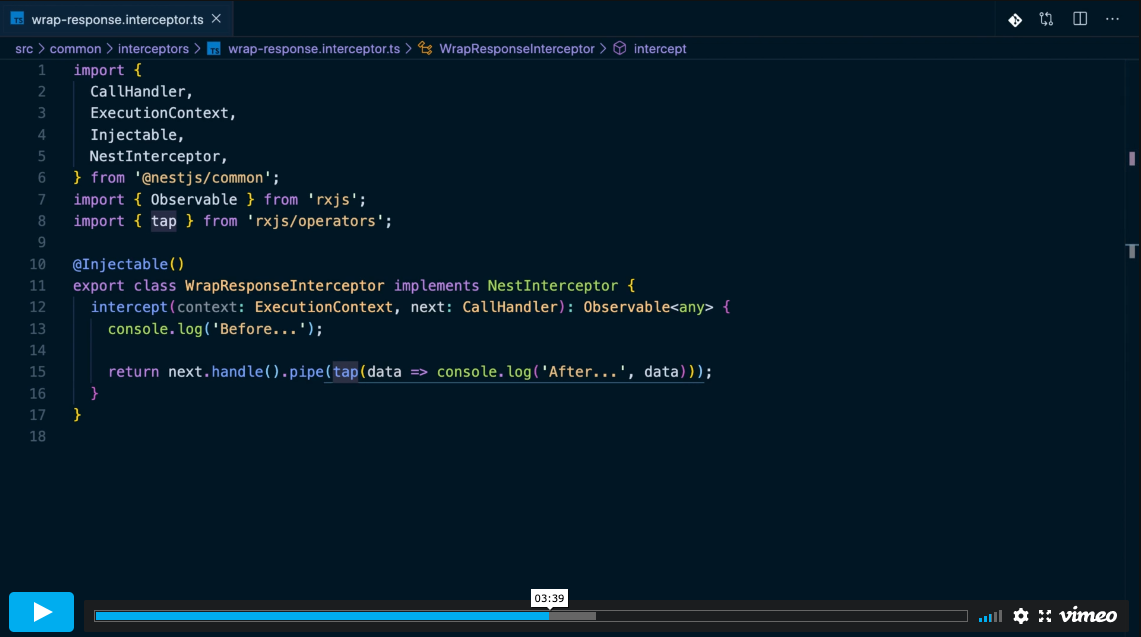
Code sample from https://nestjs.com/
Other characteristics
- NestJS also includes a built-in CLI, which can save programmers a lot of work when creating code, where for example the very useful command “nest g recourses NAME” creates the entire boilerplate code for the CRUD endpoint.
- The default HTTP server is Express, but there is an option to switch to Fastify.
- In terms of databases, it works with both SQL and noSQL servers. So you can use both MySQL and MongoDB, for example.
- It can be used with various libraries such as TypeORM, Prisma or Swagger.
- It is not a problem to use NestJS as a REST API or GraphQL API.
NestJS code structure
NestJS framework for the “invisible” part of the web application, ie. backend, consists mainly of “controllers“, which are individual end-points, which are marked by annotation, ie. eg @get (“home”), or @post (“car /: id”), which indicates a parameterized endpoint. So the code is also very clear thanks to the fact that the controllers usually only call specific services, where the logic of the application itself is.
Authentication is solved using a strategy where we can use templates of standardized processes, such as JWT (Json Web Token). For subsequent authorization and ensuring control of access to individual endpoints, guards, resp. annotation @Roles ().
Basic course directly from the creators of NestJS
What we can definitely recommend is an online course in the form of pre-recorded videos directly from the creators of NestJS. You can find the video course at https://courses.nestjs.com/, where you can currently get about 5 hours of content for $ 89.
Run the NestJS application on your own server
Finally, we can summarize how to run applications on your own server, because according to a survey on the Internet, this is no longer so common. A more common solution is to run on the Google Cloud Platform, Amazon Web Services or another cloud platform to run “Internet”. To run the Node.js application, so even the NestJS application on the linux server, the PM2 application is needed.
- installation of PM2 on Linux, provided that Node and NPM are already on the server –
npm install pm2 -g - compiling an application for production launch –
npm run build - launch the application using PM2 –
pm2 start main.js --name MY_NAME
And then we can show a simple template for setting up an Apache2 virtual host, with PORT_NUMBER being the port number under which you run the NestJS application.
<VirtualHost *:80>
  ServerName domain.com

  ProxyPreserveHost On
  ProxyPass / http://localhost:PORT_NUMBER/
  ProxyPassReverse / http://localhost:PORT_NUMBER/
</VirtualHost>


